
 admin
Herdling isn’t some incredibly grandiose game that will take you hours upon hours to beat. In fact, you could probably beat this Cozy games in a single play session, if not over the weekend.
It’s easy to pick up and play, but because of that ease of use, you may miss some things while herding your Calicorns. These fluffy monsters are found throughout the levels of the game, but some are better hidden than others.
If you’re an achievement hunter, you’ll want to keep your eyes peeled for these furballs, so you can get all the achievements the game has to offer. Exploration will be key here, and luckily, the game is beautiful, so it isn’t a tall ask to explore.
What are Calicorns?
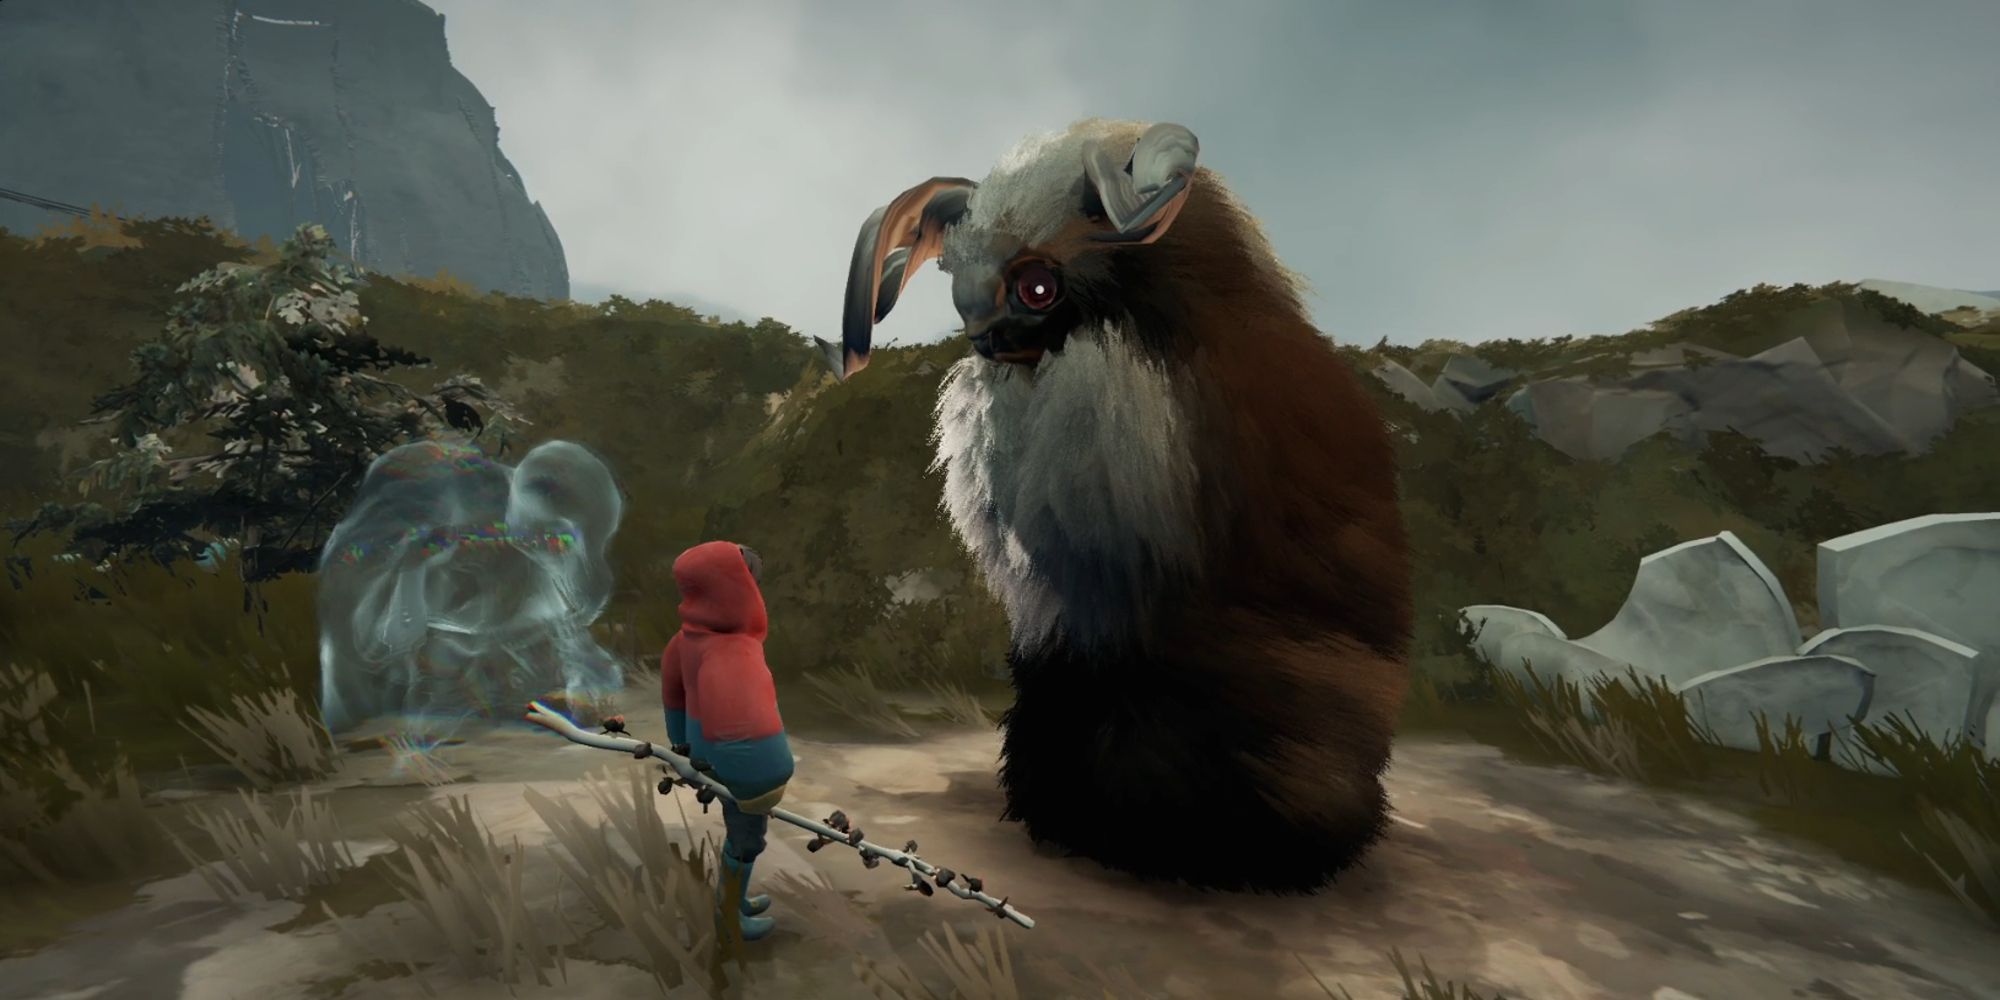
Calicorns are what make up your herd in Herdling. They’re sort of like cows in a way, just more fluffy and with some strange eyes.
While the larger ones will typically be in spots you’ll have to pass by, there are a few that are off the beaten path, making it more difficult to find them all. Once you’ve found one, you may have to do something for them, such as heal them, before they can be added to your herd.
Each Calicorn you add to your herd will add to your stampede meter. This means you’ll be able to stampede more often and travel faster.
All Calicorn Locations

Some of these will be right along the path you travel, while others are a little out of the way. You don’t need to gather all the Calicorns to beat the game, but it does unlock an achievement.
This guide will cover all 12 Calicorn locations in the game. You’ll have to do them in order, as you cannot backtrack very far in this game.
First Calicorn

The very first Calicorn you’ll run into right at the start. You’ll find them in a small grassy area with a bucket on their head.
You’ll need to walk up to them and let them run into the tree, which will knock down a branch. Pick the branch up and interact with the Calicorn to get the bucket off.
You’ll also be able to name your Calicorns whatever you like. You can also opt to have it auto-generate a name.
Second Calicorn

You’ll follow the path with your Calicorn until you come up to a yellow gate. There’s a Calicorn on the other side, but for now, head off to the right.
This one you’ll find lying on some old mattresses. Walk up to it, and it’ll run into some trash, allowing you to tame it.
Third Calicorn

Now that you’ve got the other one, you can head back to the yellow fence. Just to the right of the gate should be a ledge you can climb onto and make your way around the fence.
You’ll need to open the fence to get this Calicorn, as it will just hide in its little mattress tent until it has some friends around. With the gate open, your current Calicorn should run right up to it.
Fourth Calicorn

This one you’ll be able to grab once you’ve pushed the train cart along the tracks into the building. Once you push it all the way in, you can jump across the gap, and you’ll see the Calicorn and a fruit bush to your right.
Grab a fruit and feed the bleeding Calicorn to heal it. Once it’s all healed up, you can tame it and push open the doorway for your other Calicorn. You’ll want to stay in this area to find the next Calicorn.
Fifth Calicorn

Inside the train station area, and at the back of the facility, you’ll find one hiding under a shipping container. If you walk away from the shipping container, it’ll come out for a short moment, but run away as soon as you get close.
Grab another healing fruit and drop it near the Calicorn by pressing the interact button again. Once it comes out and starts eating, you can get close and tame it after it finishes its meal, of course.
Sixth Calicorn

Once you’re in the Autumn Forest, you’ll eventually come across a downed tree that you’ll need to push out of the way. It’ll get stuck about halfway through, but the Calicorn on the other side will knock the concrete cylinders out of the way for you.
Once it’s all moved, you can snag your sixth Calicorn and head off. The next Calicorn is deeper into the forest and along the main path.
Seventh Calicorn

This one will be by the edge of a cliff, just past a ghostly vision. When you approach the cliff, the side will give way, and the Calicorn will begin to fall over the edge.
This introduces the mechanic for interacting with the falling Calicorn to pull them back up. They’ll be hurt, so you’ll need to heal them, but after that, you can tame them.
Eighth Calicorn

In the Autumn Forest, you’ll come across your first campfire area. You can rest and clean up your Calicorns here, as well as play with them a bit.
After you wake up from resting, follow your Calicorn to the side of the zone, and you’ll trigger a cutscene. A bird will attack the Calicorn that bursts through the wood, injuring it. Grab a fruit and heal it up to make it tameable.
This introduces you to the new mechanic you’re about to deal with in the next area. Avoid the statues to keep your Calicorn alive and well, because once they die, they’re gone.
Ninth Calicorn

The ninth Calicorn will be on board the ferry you can take after the Autumn Forest. You’ll need to activate the gear, then push it in with your Calicorn to get the ferry moving back to you.
It won’t go anywhere, so once the ferry is docked, just run on and tame it. The next Calicorn is at the next level and is also directly in your path.
Tenth Calicorn

Number ten is inside the area to the right of the painting area, you’ll run into after the stampede section of Chapter V: Mountain Range. Walk over and climb up, then follow the path to the end, where the big softie will be waiting for you.
You’re also going to need to activate the yellow flower summoning statue to activate the painting. Once you do, you can push open the rock and go activate that painting.
Once you tame this Calicorn, you’ll unlock the achievement ‘A Good Bunch’ for taming ten Calicorns.
Eleventh Calicorn

In the same chapter as the tenth Calicorn, you’ll eventually reach another bird section where a Calicorn crashes into a small statue and becomes injured. There are some healing fruits nearby that you can grab to make this Calicorn tameable.
The next one won’t be for a good bit, so don’t stress over missing the last one left. This last one is a little out of the way, but still findable, provided you search for it.
Twelfth Calicorn

In Chapter VI: Glacial Valley, you’ll lose your herd and need to regather them. After that, you can head for the large structure at the back of this area.
The two paintings will be on either the left or the right of this structure. Head left and go just past the ramp at this smaller structure. You should see a ghost of a Calicorn standing out in the open near the edge of the map.
Follow it back to an injured Calicorn that you can easily heal with a nearby fruit bush. Taming this Calicorn will unlock the achievement ‘The Herd is Gathered’, and you’ll be one step closer to finishing the game.
Herdling is a nice and easy cozy game that gamers can pick up and finish quickly. If you’re hoping to get all the achievements in one go, you’ll need to be very careful about how you move your Calicorns around each level.

Herdling
- Released
-
March 4, 2025
- Developer(s)
-
Okomotive

