
 admin
admin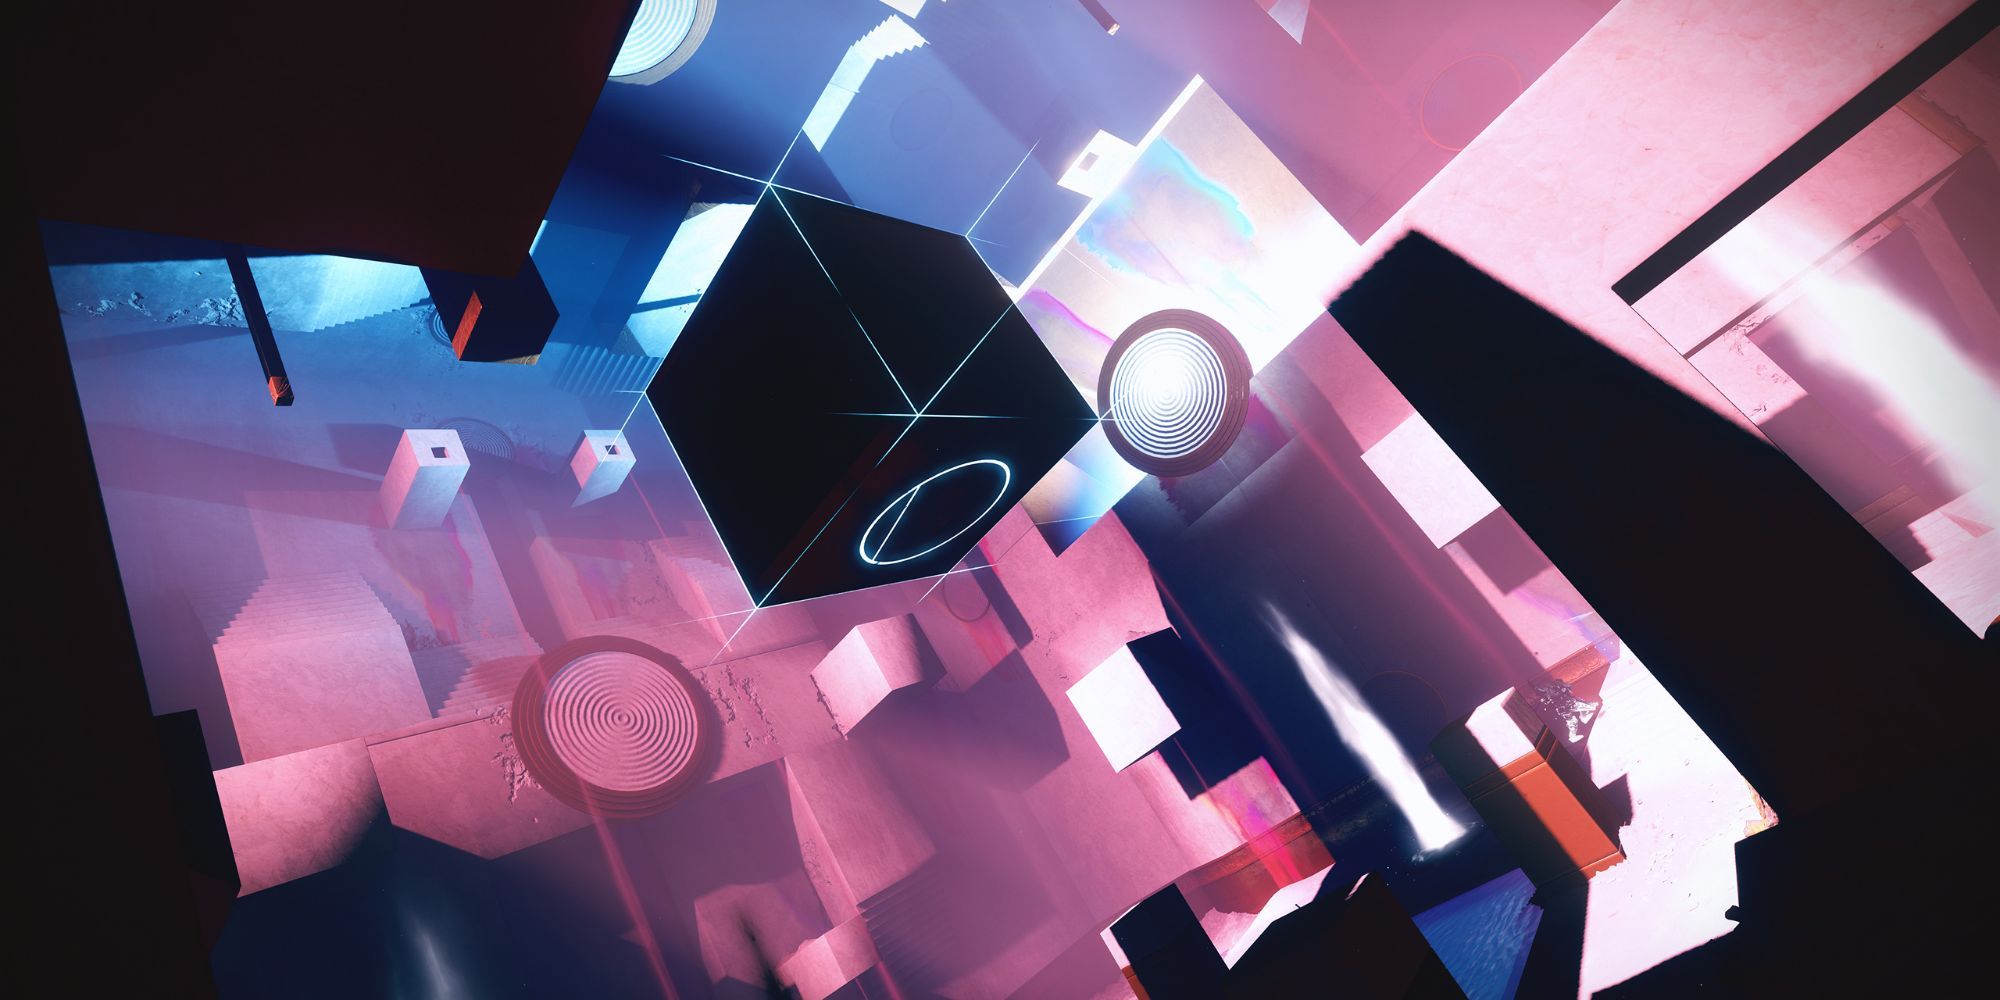
Quick Links
Destiny 2’s endgame content always delivers. Its dungeons and raids are lovingly crafted and pose a fun challenge for anybody willing to put in the work to earn the unique gear.
Considered one of the first dungeons and the easiest to achieve a solo-flawless run, the Prophecy dungeon is a Nine-themed surreal rollercoaster, as these enigmatic entities pose the question: what separates Light from Dark?
This dungeon was introduced during Season of Arrivals and was released on June 9th, 2020. This guide was written as part of a guide to the Rite of the Nine, but will cover the mechanics in the normal version, as the Rite of the Nine guide details the differences in mechanics. Outside the event, this dungeon can typically be accessed through the “Legends” tab in your Director.
RELATED
Destiny 2: Ghosts Of The Deep Dungeon Guide
Stop a Hive ritual to resurrect a specter of the past.
The mechanics of the dungeon remain largely unchanged in the Rite of the Nine version. Here, we’ll be covering a rundown of the dungeon’s mechanics and secret chests that may pique your interest as you navigate this strange pocket dimension, along with loadouts that can help make this dungeon much easier.
Opening Portion – Light And Dark Motes
You will encounter Taken throughout this dungeon. This is considered one of the easiest dungeons, as each encounter has the same mechanic but with very slight variations.
You’ll first spawn in the Drifter’s ship as a portal opens up for you to cross. This will take you into the Nine’s domain, where you’ll encounter some Taken Thrall and Knights.
Your path is blocked by an impenetrable door that can only be unlocked if you solve a puzzle that teaches you the basic mechanics of this dungeon, which are Light and Dark motes that drop from the Major (orange health bar) Taken Knights.
Your goal is to collect five motes of the same type, which merge into a held object, changing your perspective to third-person.
To make the Knights drop the modes you need, you’ll need to stand in either a lit or shaded area. Naturally, standing in a lit area makes Knights drop Light motes, while standing in the shade makes them drop Dark motes.
Your HUD will indicate Light/Dark by showing a bright or shaded hue in the corners of your screen.
Knights drop three motes each, so you must kill a minimum of two Knights to collect enough to form one big mote. Motes will last for 30 seconds before they disappear. Collecting the opposite type of mote while carrying the other will instantly replace them.
Once you’re holding five motes, deposit them onto the corresponding plate by pressing your “shoot” button near or on the circle that has the pillar of a corresponding type.
Pressing your melee button in midair while holding the motes will activate a melee attack that can serve as a slight speed boost.
Complete both plates, and the door will swing open. Proceed to the next room and do this one more time.
Because of the utter ease of this starting encounter, I won’t cover what loadouts you need. Just make sure to use any weapon or ability that can quickly kill tougher enemies; any heavy or special weapon will do just fine.
After completing both rooms, proceed, and you’ll catch a glimpse of the Kell Echo, who is the final boss of this dungeon. It’ll teleport away, allowing you to climb up the tunnel.
Jump along the rocks and onto a circular platform. You’ve now arrived at the first official encounter.
First Encounter – Phalanx Echo
Walkthrough
Rally and approach the Taken ball to start the encounter. The boss is a Taken Phalanx with an annoyingly large and impenetrable shield, who will pester you with its gunfire and melee attacks while you’re running around a small arena.
In the pre-DPS phase, you’ll face Taken Knights and Taken Psions.
You’ll notice two pairs of plates–Light and Dark–floating in the air. To make the boss vulnerable, you must deposit the corresponding motes that drop from Taken Knights.
Stand in the light for Light motes, and the shadow for Dark motes. It’s that simple.
After cleansing any plate with the right motes, the rings around the arena will reconfigure, changing the angle of light and shadows.
To expedite this encounter, it’s useful to know that your mote “attack” has a pretty generous AOE, which means you can halve the work you need to do if you position yourself just right, equidistant between the two pillars. The third-person camera helps a lot here, though this technique requires practice, timing, and proper positioning.
After depositing both Light and Dark, the boss will be vulnerable.
During the DPS phase, Taken Goblins will start spawning to protect the boss with their invulnerability beams, so make sure to kill them before they do that.
The boss will also have a pesky shield that is practically immune to all forms of damage, so you’ll need to learn how to navigate around that. But without the shield, the boss is a bit of a pushover, so make sure to aim at the body as best as you can to shred its health bar.
Recommended Loadout

This boss encounter requires a lot of close-quarters combat, so any high-damage melee or close-range weapon is recommended for this encounter. While this boss has a wide shield, it does not have a lot of health.
As with my previous two guides, I’ll be providing two builds that I’ve used for each class: one exclusively Light subclass for free-to-play Guardians, and one build that’s more demanding for those who have access to Darkness and Prismatic subclasses from expansions.
|
Titan |
Warlock |
Hunter |
|
|---|---|---|---|
|
Free-To-Play |
Arc Titan with An Insurmountable Skullfort and/or Cuirass of the Falling Star. Aspects: Roaring Flames and Sol Invictus. Super: Thundercrash |
Solar Warlock with Sunbracers or Speaker’s Sight. Aspects: Electrostatic Mind and Ionic Sentry Super: Well of Radiance |
Void Hunter with Gyrfalcon’s Hauberk. Aspects: Stylish Executioner and Vanishing Step Super: Deadfall Shadowshot |
|
Expansion |
Prismatic Consecration Titan with either Synthoceps or Stoicism with Assassin/Syntho perk combo. Aspects: Consecration and Knockout. Super: Thundercrash |
Prismatic Arc Buddy Warlock with Getaway Artist. Aspects: Bleakwatcher and Feed the Void. Super: Nova Bomb, Chaos Reach, or Song of Fire. |
Prismatic Melee Hunter with Relativism with Caliban/Liar perk combo. (with any One-Two Punch shotgun) Aspects: Stylish Executioner and Winter’s Shroud Super: Shadowshot |
During damage, a Titan can plop down a rally barricade with Storm’s Keep for you all to hunker down behind and deal damage.
In terms of weapons, Thunderlord shreds not only adds, but also the boss’s health, especially when combined with Bolt Charge provided by Storm’s Keep. Alternatively, swords and One-Two Punch shotguns are viable for this encounter, though beware that the boss can easily turn and protect itself.
Traversal – Wasteland
Walkthrough
After defeating the Phalanx Echo, a portal will open on the ground, which will take you to the Wasteland, where you can pull out your vehicle to navigate while searching for three Blights to destroy.
In this area, you’ll encounter some Taken Thralls while Taken Hobgoblin snipers will take aim and shoot you atop some pillars.
On your way to each Blight, you might run into some invisible giant Taken Minotaurs who can easily destroy your vehicle and kill you with their torch hammers.
Destroying a Taken Blight will spawn a Taken probe (also known as Toland or ball). Approaching the probe will cause it to dash in the general direction of the next Blight. Follow it and destroy the next probe.
After destroying all three Blights, a pop-up message will say “The Way is Open.”
The next encounter is now accessible, so follow the probe into a giant cube with an open, narrow pathway, which will trap you in the Hexahedron.
Secret Chest
The first secret chest can be found in the Wastelands, right after the first encounter where you beat the Phalanx Echo.
While traversing the Wasteland, you might come across some stone formations with golden tops. There’s a narrow crawlspace in the middle of the formation. Go inside and grab your loot.
As with all secret chests, they only reward you with loot that you’ve already discovered. If this is your first time, you’ll most likely just get a duplicate of what you got from the first encounter.
Second Encounter – The Hexahedron

For this encounter, you will be trapped in a large structure called the Hexahedron, and your goal is to escape from it. This encounter will use the same Light and Dark mote mechanics.
Walkthrough
After you rally, approach the Taken probe, which will disappear, and a pop-up text will say “The Realm responds to your Actions,” beginning the encounter.

Taken enemies will spawn, including Acolytes, Hobgoblin snipers, and two Knight Echoes. You’ll also notice pillars of Light and Dark on each side of the room.
Your goal is to deposit motes to pillars perpendicular to the probe, meaning that the correct pillar is right under the floating Taken ball, so give yourself a good few seconds to look around and scan for the probe.
Collect the corresponding motes and deposit them into the plate perpendicular to the probe.
If the probe happens to be on top of a Light pillar, then grab some Light motes and dunk them into that plate.
As always, you’ll need to kill the Knight Echoes while standing in a lit area and collect five motes to deposit into that specific plate.
Alternatively, you might not see the probe on any of the walls, but instead it will be on the ceiling. This means that you can deposit your motes onto any plate.
Once you’ve deposited your motes, the center of the room will glow. Stepping onto the middle plate will levitate you and rotate the room, taking you to the next level.
I recommend killing all the enemies before proceeding, as enemies can focus their fire on you while you’re in midair.
You’ll then be dropped at where the probe was, and you’ll need to chase the probe to complete the encounter.
Do this a few more times, and a couple of Centurion Echoes will spawn.
Kill them, and you’ll complete the encounter, which will allow you to leave the Hexahedron.
Recommended Loadout

There isn’t much else to say about this encounter other than it’s an easy one to get through. Just make sure you have your best add-clearing weapons and abilities, and focus on survivability.
Any weapon that has mid to long-range can help you deal with the Hobgoblin snipers standing atop nearby ledges.
Alternatively, Thunderlord, Commemoration, or any other machine gun with a high ammo capacity is great for this encounter.
Traversal – Singularity
Collect your loot, and leave the Hexahedron through the slit in the wall, returning you to Heaven/Hell.
Pull out your vehicle and traverse the Wasteland once more, veering to the right where you’ll come across the final boss.
You’ll know you’re going in the right direction if you see the Kell Echo, who will teleport to the next spot two more times.
Enter the next giant cube, which will take you on a twisting path that many Guardians have nicknamed “Rainbow Road.” Simply follow the giant ribbons and avoid getting sniped by Taken Vandals.
A great way to cheese this section is to use a Skimmer and grind to cover most of the area. Sometimes you might need to jump off your Skimmer and resummon it, but having it makes this section much easier.
Note that summoning the Skimmer too many times consecutively will decrease the amount of boost you have to grind.
You’ll come across a wide platform with some Taken enemies. You may choose to leave them alone or kill them. Either way, hop on the plate and go up the tractor beam.
Fight through some Taken Thrall and proceed to the final encounter.
Secret Chest
The secret chest is inside the final octahedron, near the platform before you enter the giant pyramid, situated in the structure at the end of the ribbon road.
When you enter the structure, immediately turn right into the corner, where you’ll find a hole that takes you down.
Follow the path and jump across the chasm, which will take you to the secret chest.
Third Encounter – Kell Echo
Walkthrough
The final boss of Prophecy will test everything you’ve learned throughout the dungeon. Thankfully, this boss isn’t too beefy, and this encounter is rather simple in its mechanics.
The arena’s layout is a pyramid with a plate on each corner, and the boss will split off into three clones nearby, shooting its shrapnel launcher at you. Knight Echoes will spawn, and Taken Psions will serve as minor nuisances and fodder.
Collect the motes and dunk them into the correct plate. This will then spawn an Ultra Taken Ogre that you’ll need to kill to move on, as it can very easily overwhelm you with its eye blast.
Do this for each corner of the arena, which will then unlock a portal that takes you to one end of a long corridor with floating platforms.
You’ll notice a debuff on the top of your screen labelled Dark Entropy, which stacks up to ten times before it kills you. You’ll also notice an aura surrounding the boss, which you’ll need to stay inside to decrease the stacks.
The boss will periodically retreat down the corridor while Taken Hobgoblins snipe at you from afar. It will also throw Taken Captain blobs that, instead of blinding you, will teleport you far from the boss, which will increase your Dark Entropy stacks if you don’t get back.
Keep moving up while dealing damage, and do your best to stay as close to the boss as you are comfortable with.
The boss’s shadow projectiles have a rather wide hit box. To err on the safe side, try strafing side to side during DPS.
Eventually, the boss will end up on the other side of the corridor. Continue your barrage of damage until it becomes immune, which will then open a portal for you to return to the main arena.
After each damage phase, the arena will also be reconfigured, changing the layout of the lit and shadowed areas.

Rinse and repeat until you defeat the boss.
Recommended Loadout

Add-clear and survival are surprisingly easy in this encounter. All you need to worry about is using special weapons against the Knight Echoes and any burst damage against the Taken Ogres, as they can be a threat if not dealt with immediately.
Precision weapons like linear fusion rifles remain some of the best damage dealers for this boss. Of course, Queenbreaker reigns supreme (or Sleeper Simulant, though it is less ammo-efficient). Even without Episode Heresy’s artifact mods, this weapon would still undoubtedly be a monster.
|
Titan |
Warlock |
Hunter |
|
|---|---|---|---|
|
Free-To-Play |
Arc Titan with Cuirass of the Falling Star and/or Insurmountable Skullfort. Aspects: Storm’s Keep and Knockout Super: Thundercrash |
Solar Warlock with Sunbracers or Speaker’s Sight. Aspects: Hellion and Touch of Flame Super: Well of Radiance |
Solar Hunter with Celestial Nighthawk. Aspects: Knock ‘Em Down and Gunpowder Gamble. Super: Marksman Golden Gun |
|
Expansion |
Prismatic Consecration Titan with either Synthoceps or Stoicism with Assassin/Syntho perk combo. Aspects: Consecration and Knockout. Super: Twilight Arsenal |
Prismatic Arc Buddy Warlock with Getaway Artist. Aspects: Bleakwatcher and Feed the Void. Super: Nova Bomb |
Prismatic Decoy Hunter with Radiant Dance Machines. Aspects: Threaded Specter and Ascension Super: Marksman Golden Gun |
Completing this dungeon will reward you with unique weapons and armor. Killing the boss will also drop a piece of cool-looking Moonfang armor, which is worth the grind, especially for the Titan helmet.
Unlike most dungeons nowadays, Prophecy does not drop an exclusive Exotic weapon. Still, the legendary weapons are worth it, and are farmable in Rite of the Nine as well.

RELATED
Destiny 2: Spire Of The Watcher Dungeon Guide
A Guardian, a Vex Goblin, and a Warmind walk into a bar.

Destiny 2
- Released
-
August 28, 2017
- ESRB
-
T For TEEN for Blood, Language, and Violence
- Engine
-
Tiger Engine
