
 admin
admin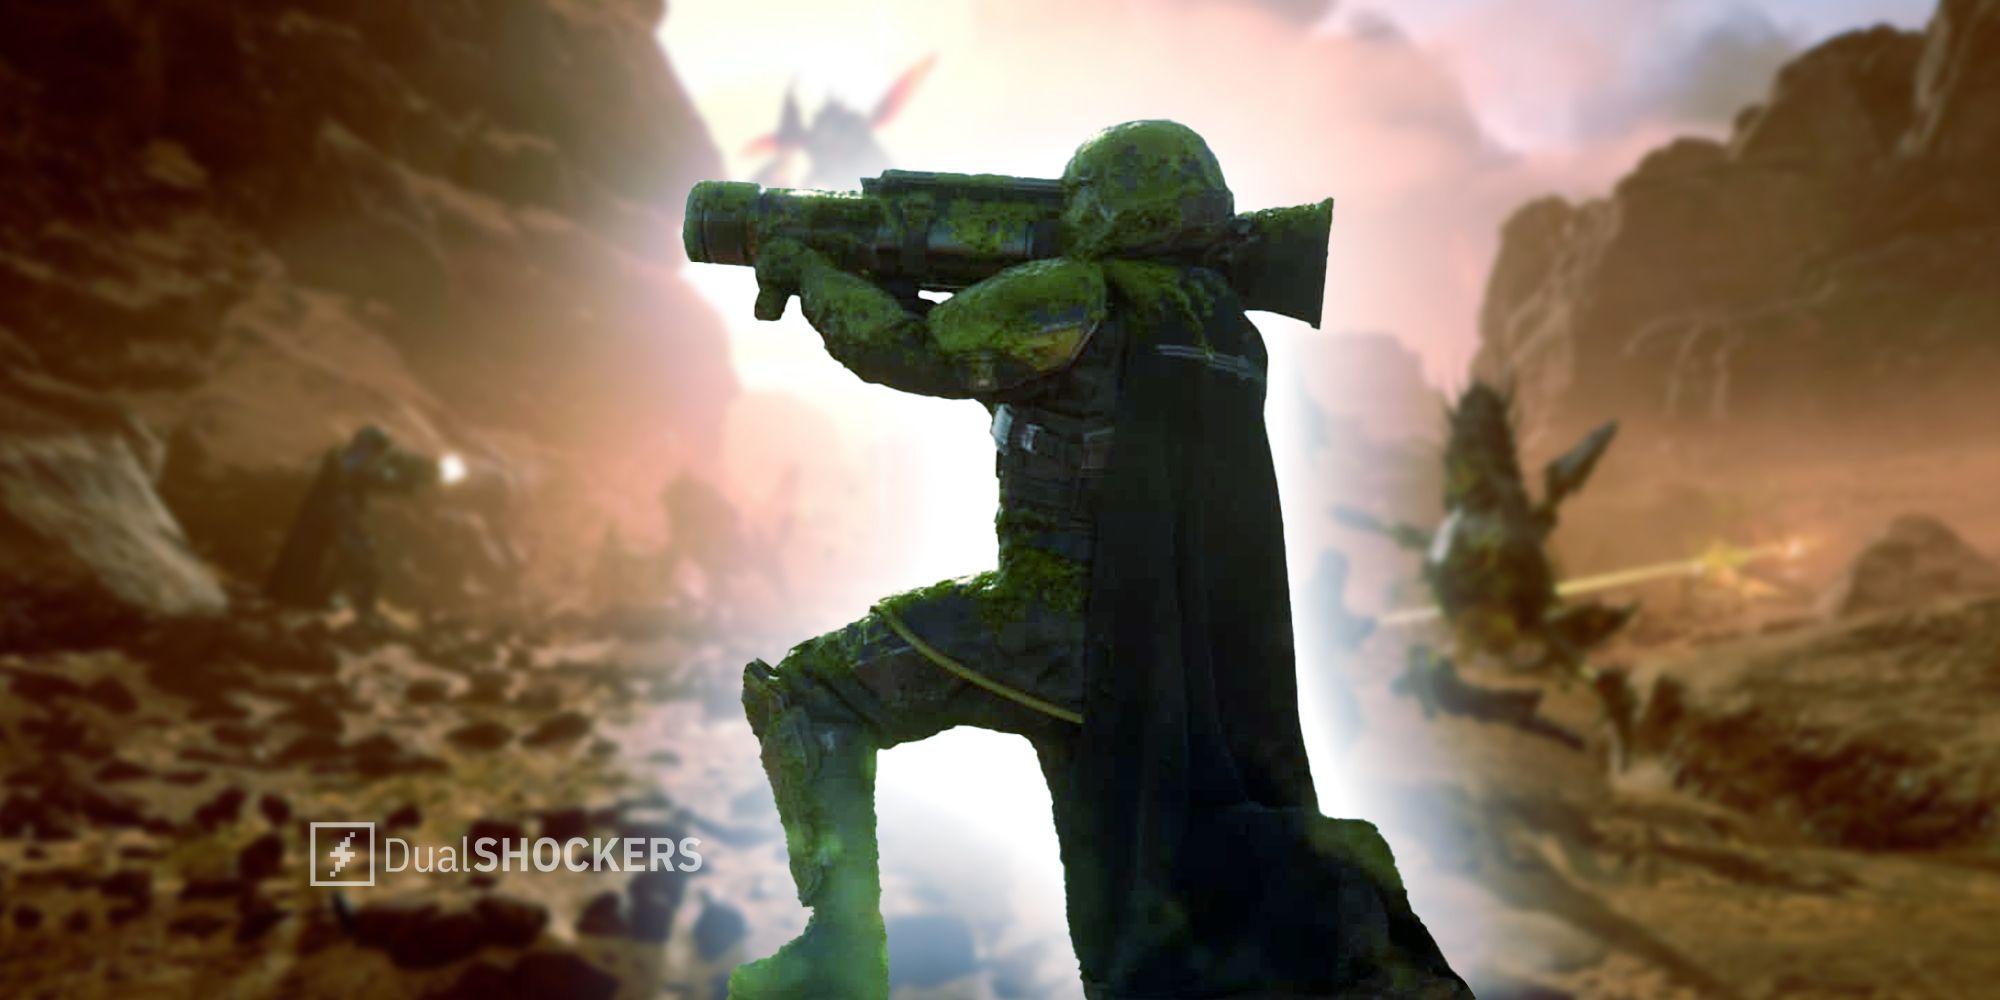
Highlights
- EAT-17 is high in versatility, excelling in taking down Chargers, Fabricators, Drop Ships & clearing objectives.
- Low cooldown of 1 minute allows for frequent use but requires retrieval from the pod.
- Not ideal for defense missions or longer cooldown scenarios, excels against armored foes.
With all the changes that have happened so far, the Expendable Anti-Tank weapon or EAT-17 has become one of the strongest anti-armor options in Helldivers 2. It has a low cooldown, two shots per call, leaves your backpack space open, and can one-hit Chargers if you shoot them in the head. What’s not to like?
Helldivers 2: 15 Best Armor, Ranked
Helldivers 2 gives players several choices for Armor, but these are surely some of the best ones you should be trying.
This guide will go over what you need to know before you use the EAT-17s, including its pros and cons, when the best time to use it is, and what targets you should be looking for with this amazing stratagem.
Helldivers 2
- Released
- February 8, 2024
- Developer(s)
- Arrowhead Game Studios AB
EAT-17 Pros And Cons

|
Pros |
Cons |
|---|---|
|
+ Low cooldown (1 minute with upgrade) |
– Maxes out at 3 rockets |
|
+ One-shots Chargers |
– Have to wait for a call-in for more |
|
+ Two rockets per call |
– EATs must be retrieved from the pod |
|
+ Doesn’t take up a backpack slot |
Best Way To Use The EAT-17
There are two ideas to keep in mind when using the EAT-17: you can keep an EAT-17 strapped to your back, and the stratagem will come off of cooldown every minute after you purchase its ship upgrade. This means if you or your team head into an encounter and need more anti-armor, you can call down another pod of EATs and have up to three rockets to contribute to the fight. If the fight drags on, the low 1-minute cooldown gives you a chance to call down more.
The only significant downside to the EAT-17 is that you have to wait for the weapon to land and retrieve it from its pod, which can be a massive problem when you have a horde of enemies hot on your heels. If you’re ever in a position where you need your EATs as soon as possible, kite enemies away from where you called the rocket launchers down, then immediately circle around and grab your weapons.
Weaponizing The Call Down
This is a niche skill to have with any stratagem, but thanks to the EAT -17’s low cooldown, it’s extremely useful to know how to stick enemies with the blue beacon. It’s best used against Chargers, where you can stick the beacon on their glowing tails and legs, allowing the pod to crush them in one hit. Just be aware that you’ll need the Charger to stand still just before the pod lands; otherwise, it won’t do enough damage.
You can also land the EATs pod on Automaton Fabricators to destroy them.
This can be further used against large enemies when combined with the Stun Grenade from the “Cutting Edge” War Bond. The stun grenade will keep enemies in place for ~5 seconds, which is perfect for the 2-second call-in time of the EATs to land on them.
Best Targets For The EAT-17
Ideal targets
- Chargers (1 rocket to the head)
- Bile Titans (2-4 rockets to the head)
- Spore Spewers (1 rocket at the stem)
- Fabricators/Bug holes
- Hulks (One missile to the eye or one rocket for each arm)
- Broadcast Towers
- Automaton Dropships (1 rocket to the engines)
The EAT-17s are extremely flexible in that they can do almost everything. Their best targets are armored foes like the Charger which will go down in one rocket if you land a headshot, and objectives. Not only can they bring down Drop Ships and Bile Titans, but they can also close bug holes, destroy Spore Spewers, and destroy Broadcast Towers. For a rocket launcher on a 1-minute cooldown that doesn’t use a backpack slot, this is incredible.
When Is The EAT-17 Bad?

Despite its many benefits, there are still times when you may not want to bring an EAT. Defense missions like the new Terminid mission aren’t great for the EAT because you’re mostly fighting smaller enemies with few armored foes in between.
Alternatively, the EAT-17s will suffer when its cooldown has been increased by a planetary effect. It’s still possible to use the weapon during that time, but it’ll fall behind the Recoiless Rifle at that point in terms of efficiency.
Curious about how to use the other weapons in Helldivers 2? Here’s our guide to use the Arc Thrower and the Railgun effectively.

Helldivers 2: How To Slay With The Autocannon
The Autocannon is one of the best Support Weapon to bring on a mission in Helldivers 2. This guide details how best to use this powerful Stratagem.
